Changing the float mechanism in an Inax toilet
Today I changed the float and water supply mechanism in the toilet. Here is the new mechanism ready to be installed.
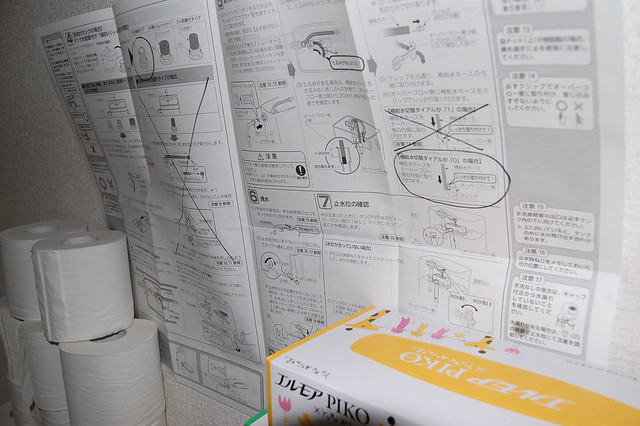
There are a lot of different options on this mechanism, so before starting I crossed out all the unapplicable options on the instructions.
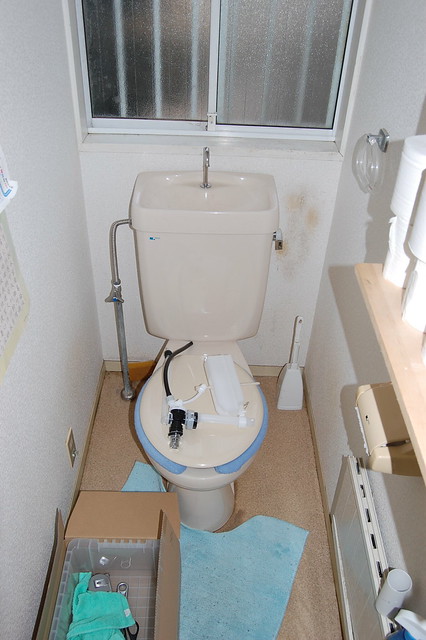
This toilet's hand washing outlet has a screw fitting which was connected by a piece of rubber.
I keep these old computer packings for when I need to do work on the toilet.
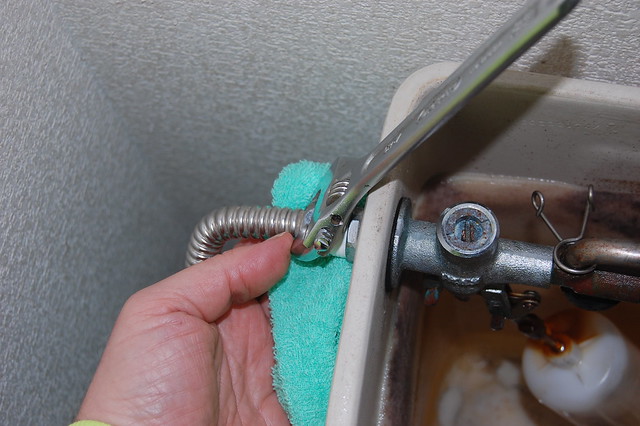
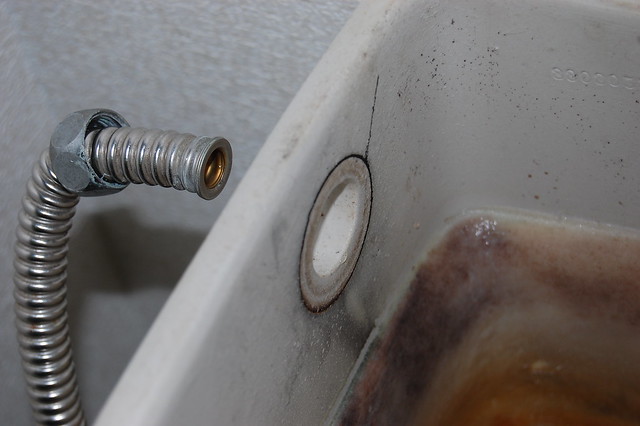
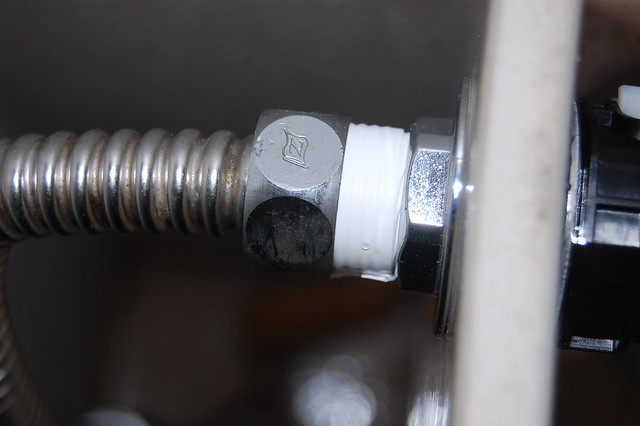
The water supply pipe is a benrii-kan (bendy pipe?). It's disconnected with an adjustable spanner.
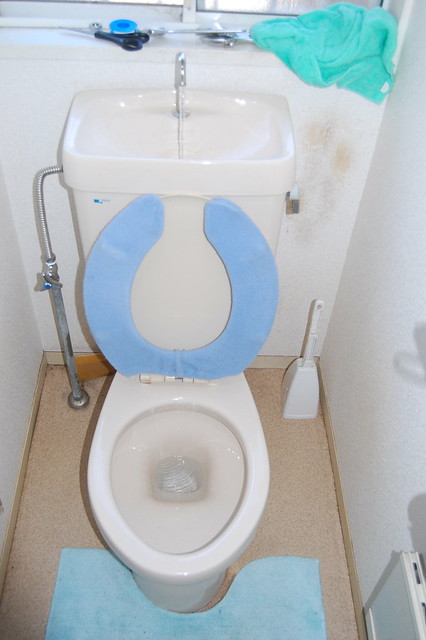
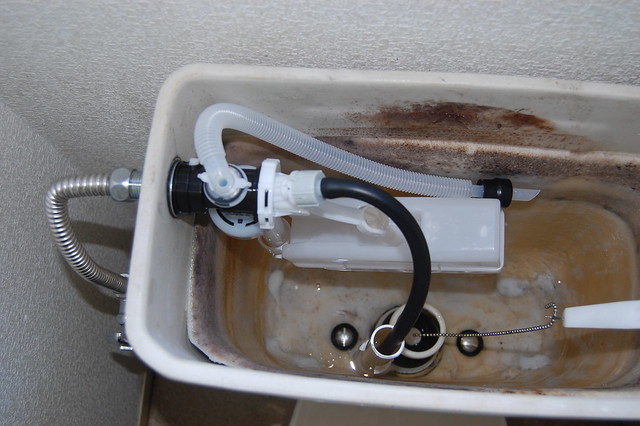
The float mechanism now has to be removed. It wasn't on very tightly.
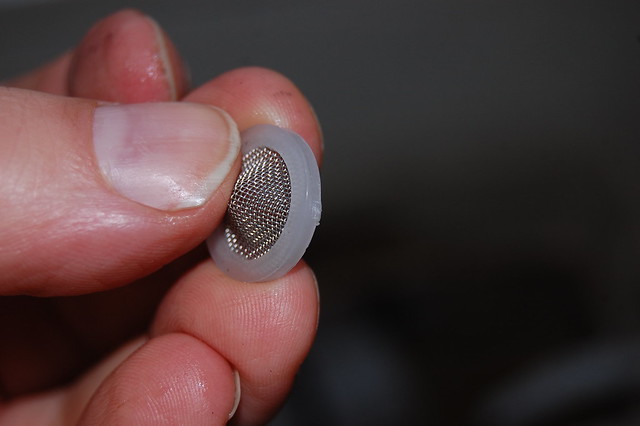
This is the old rubber seal.
It left this mark behind.
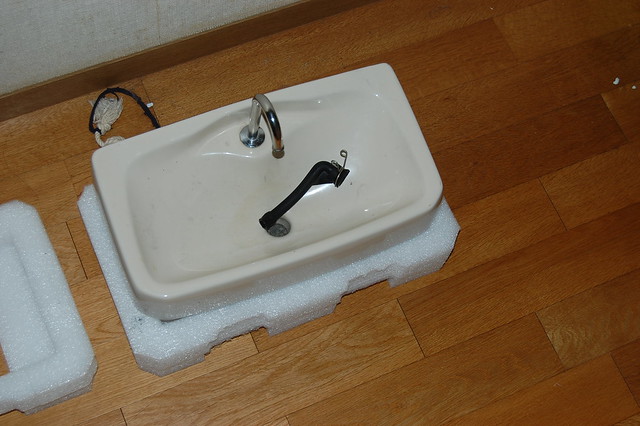
I used this 250 yen box from Homac to put the mechanism into.
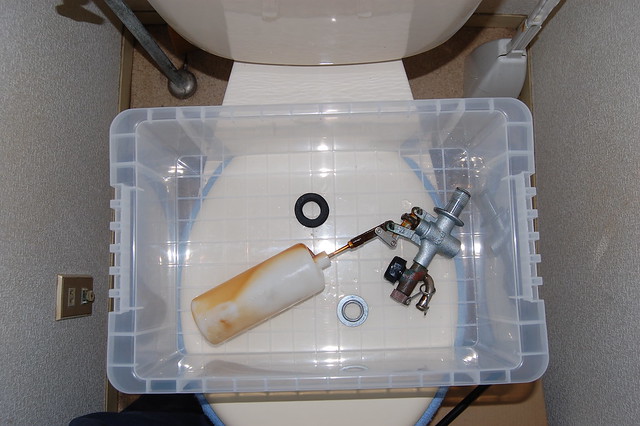
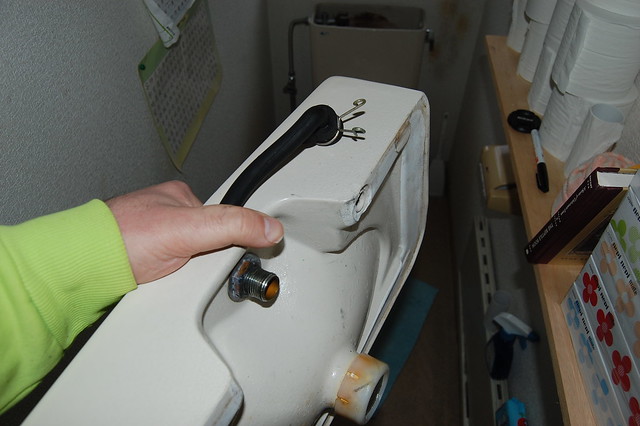
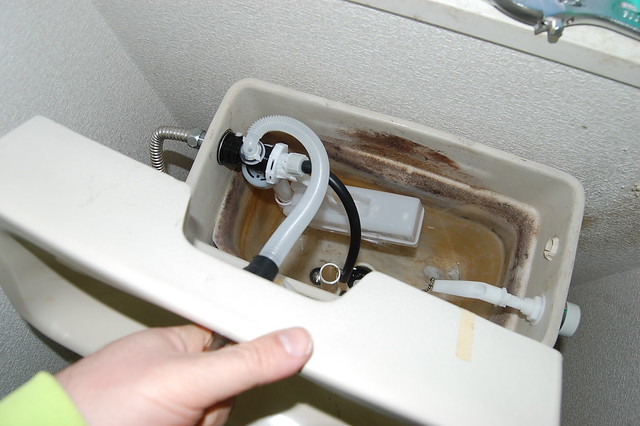
The new mechanism in place, with the nut finger-tightened.
I had applied this fix because the old mechanism was broken.

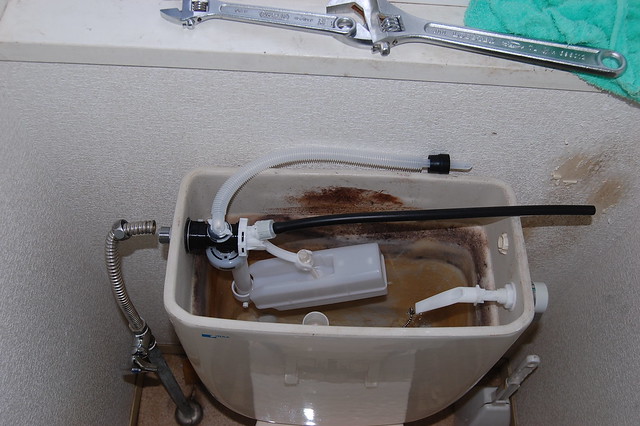
This rubber tube is not really relevant to my make of toilet, but it has to be cut to length and fastened to the overflow pipe.
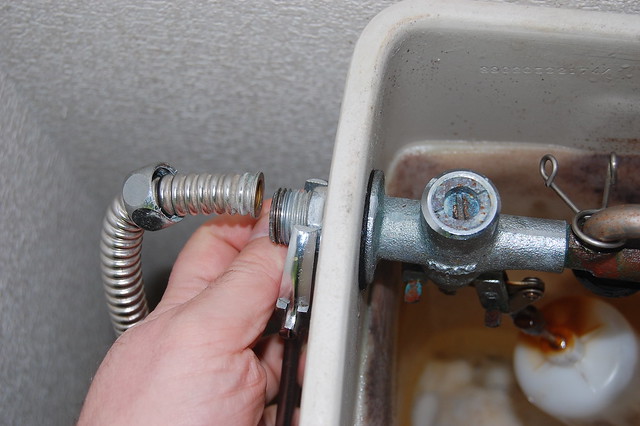
I decided to try connecting the water supply next.

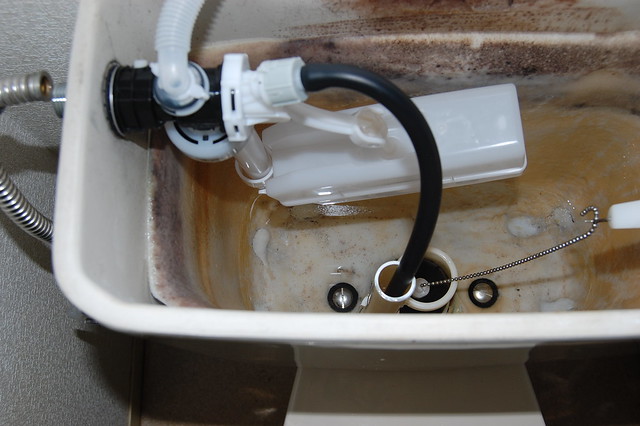
This nodule on the strainer packing bothered me a bit.
At first I didn't tape it, and it leaked.
This dial turns around, and my toilet's setting is "zero".

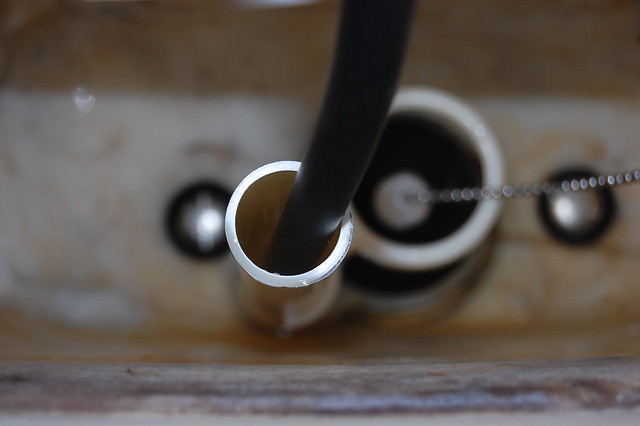
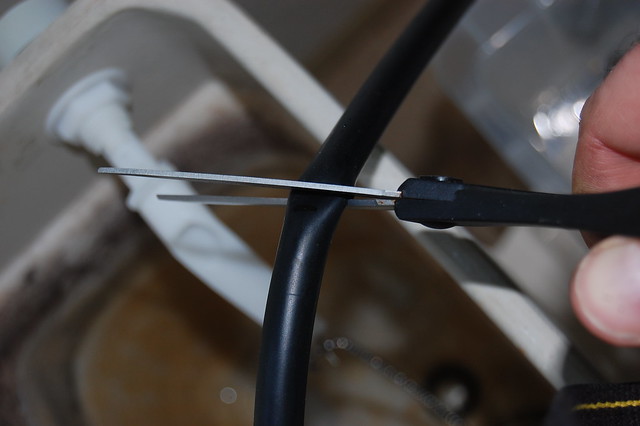
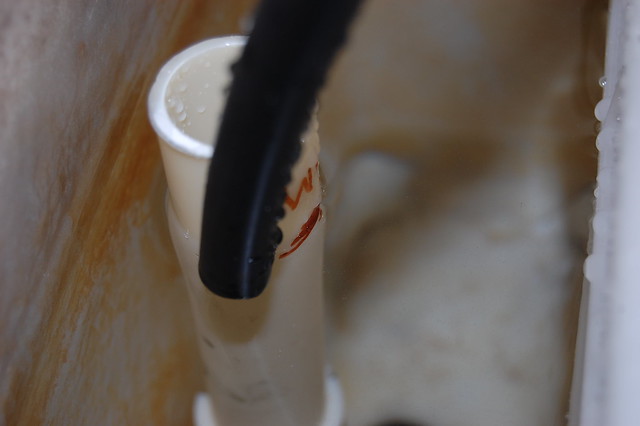
The instructions say to put this tube into the overflow pipe, without any looseness, then cut it so that there is 20 mm in the pipe.
The mark nearer my finger is about 20 mm.
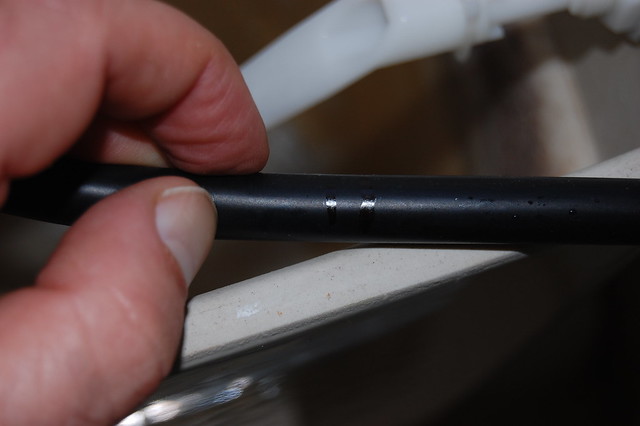
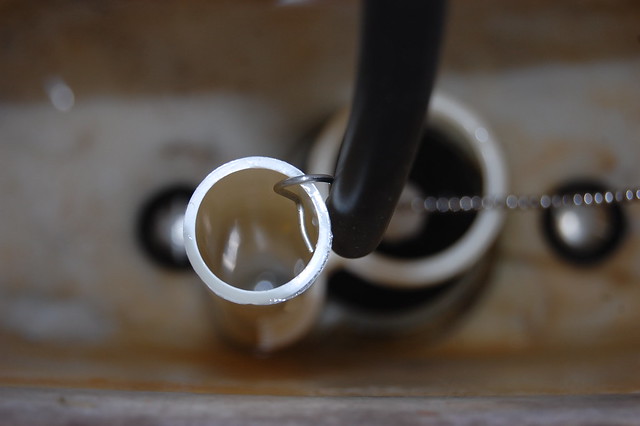
I snipped it
and clipped it to the outside of the overflow pipe per the instructions.
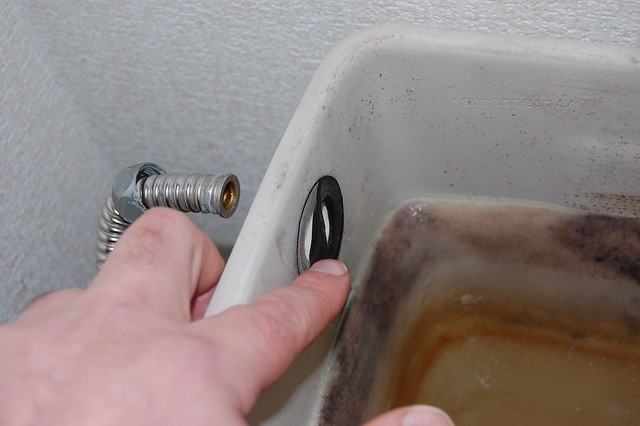
The handwasher can be connected just by pushing the rubber joint over the screw.
I added a "WL" mark where the one on the old pipe was using a Magic Ink pen.

I had to redo this joint with plumbing tape. This fixed the leak.
Getting the correct height of water involved adjusting the height of the float using a screw fitting on its top. Here I have finally got it about right.
The toilet is now functioning OK.