Emergency repairs to a sunroom roof
On Friday 18th February 2017, there were extremely strong winds in my area. A rather old piece of plastic roof material, which already had a hole in it, was cracked and then shattered by the wind.
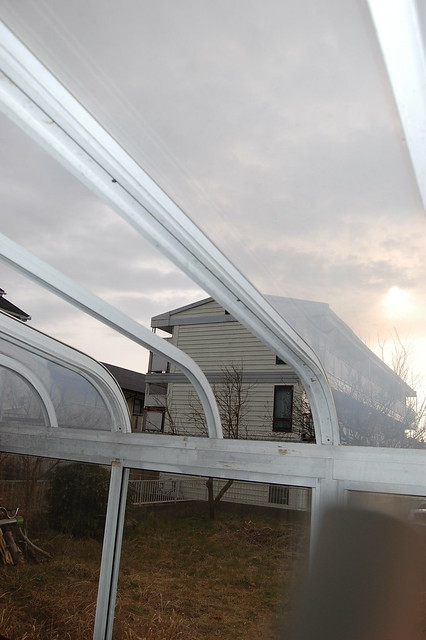
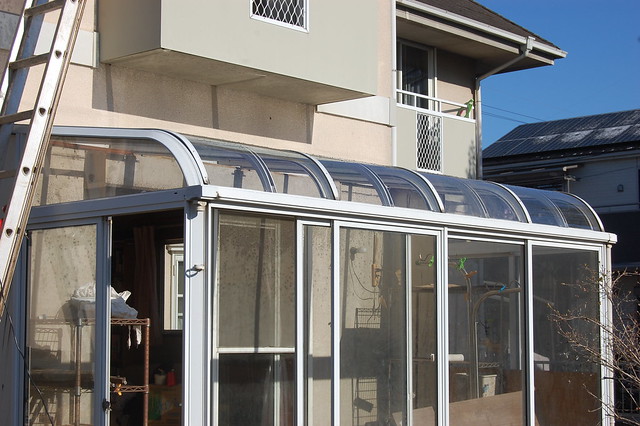
This picture shows the roof. I had removed a few broken pieces from the frame at this point.
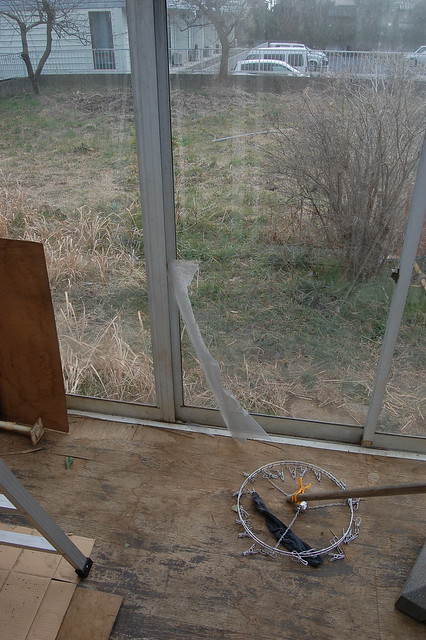
Here is one of the shattered pieces of plastic.
This plastic roof had been there since the house was built, at the end of 1988.
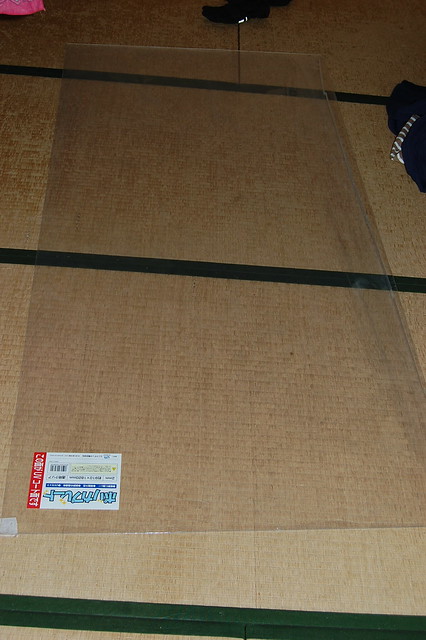
I decided to go to the home centre and see what kind of materials they had. I went to a place called "Gran Stage Yamashin". They had various kinds of plastic sheet. I chose the polycarbonate kind of plastic. The sheets only came in the Japanese size of 182 by 91 centimetres, whereas the hole was 89 centimeters wide and about two metres long, so initially I bought two sheets.
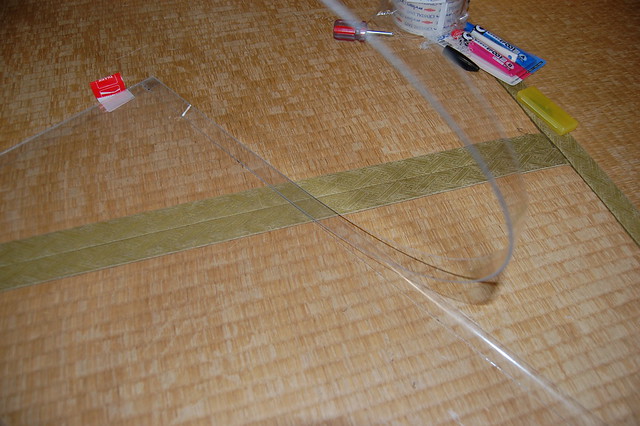
This picture shows the plastic sheet I bought.
The plastic had to be cut to size with a special plastic cutter. Initially I tried using a bamboo metre rule, but the cutter shredded that, so I used a 50 cm metal ruler.
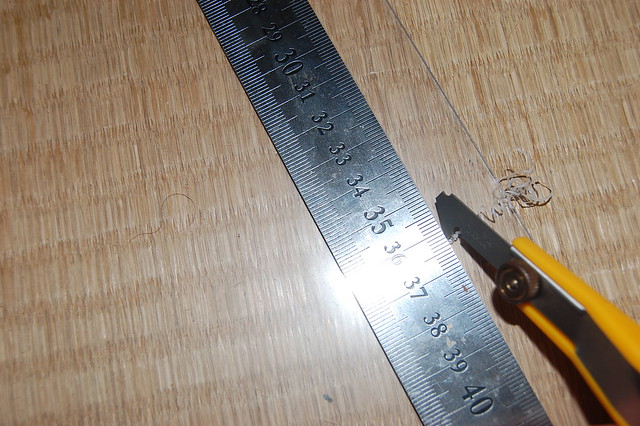
The polycarbonate sheet is two millimetres thick. It said at the home centre to cut about one third of the way through and then snap it, but I had to cut at least half way through it, which is several passes through with the cutter.
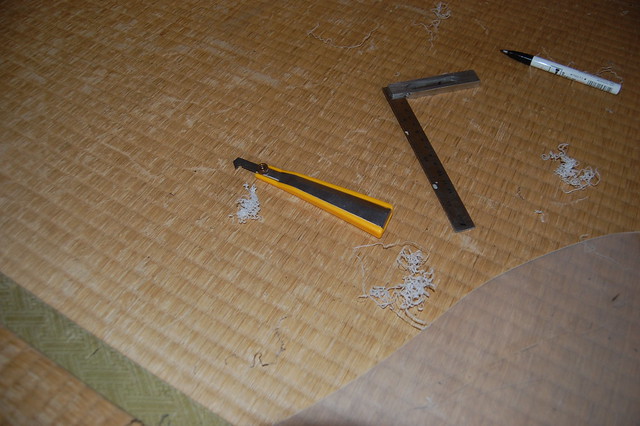
Lots of shavings were generated.
After I got the piece cut, when I tried to fit it I realised that it was going to be very hard to put into place in the middle of the roof, without scaffolding, and also that the other pieces of plastic on the roof were all in very bad shape.
I went back to the home centre and bought three more sheets of the polycarbonate plastic and planned to just replace them all.
These plates are held down by a rail which is screwed in to a joint consisting of two pieces of aluminium. There were some kind of 10 mm self-tapping M4 screws holding it down. Unfortunately I dropped some of the screws so I had to substitute non-self-tapping M4 screws in a few places.
To make something long enough to fit in, I glued some extra pieces at the end. I was originally planning to put the extra pieces at the curved part of the window, but I realised that had to be very strong, so it wasn't a good place to put a glue joint.
There was only one type of glue at the home centre which said it would stick polycarbonate together, so I didn't have the choice of a nicer looking transparent glue. As long as it doesn't leak.
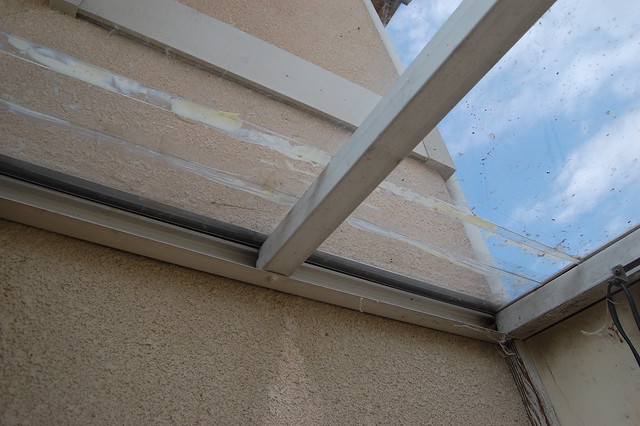
Here is the finished roof, with some melted snow on it:
This is the finished roof from outside.
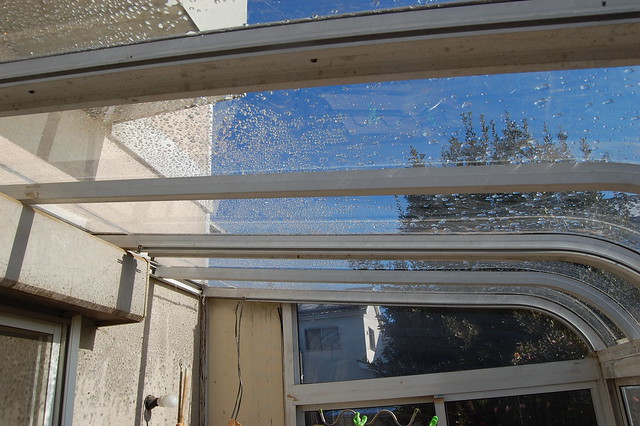
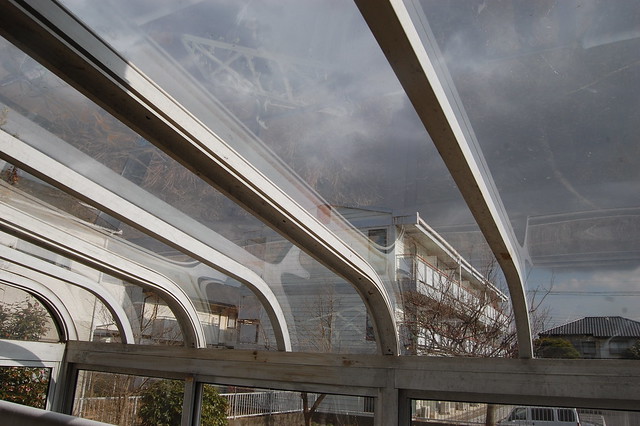
This picture shows the curved part of the roof from inside:
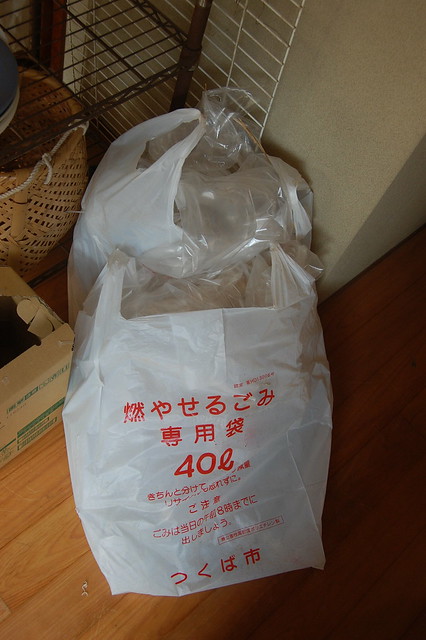
The plastic of the old roof sheets was in terrible shape, so it was easy to smash it into small pieces. It filled up three of these forty-litre rubbish bags:
The total cost of the plastic was 5 × 4180 yen, plus about 880 yen for the special glue, 250 yen for a roll of clear tape, and about 250 yen for a packet of five blades for the plastic cutter (Olfa P-450). The job took about one day.
The worst mistake I made was in not ensuring that the extra piece of plastic to lengthen it was pushed in all the way to the rubber holding at the top of the roof, which meant I twice had to add additional pieces of plastic.