Changing the rubber valve in an Inax toilet
This page discusses changing the rubber valve (フロートゴム) in an Inax DT-810UZ toilet tank.
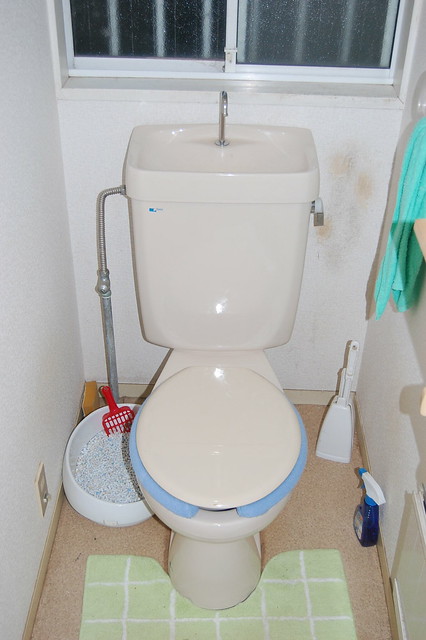
This is one of the toilets:
The model number is on the bottom left side of the tank, looking at the toilet from the doorway. I took this photo with a phone.
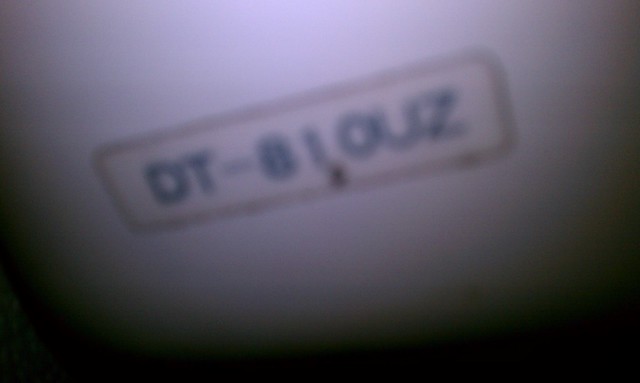
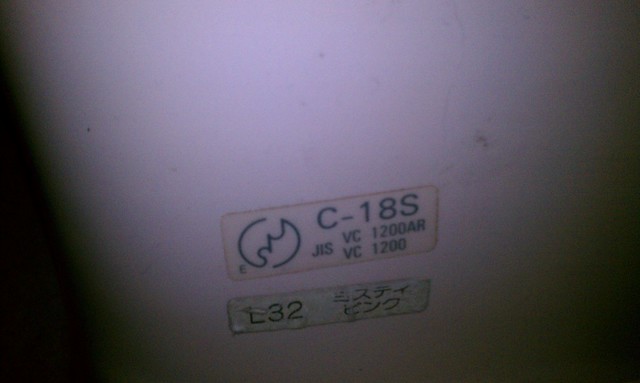
This is the model number of the bottom part of the toilet:
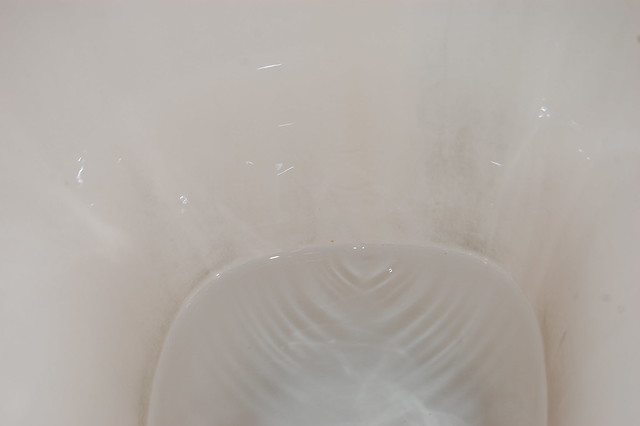
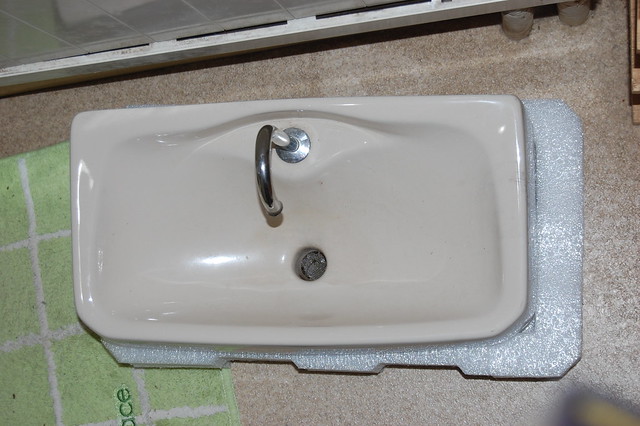
The toilets both have small leaks, which are due to the age of the rubber valve. The leaks cause the ripples in the following photo:
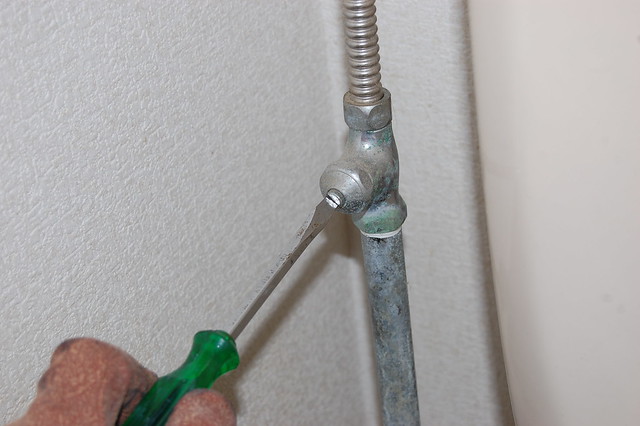
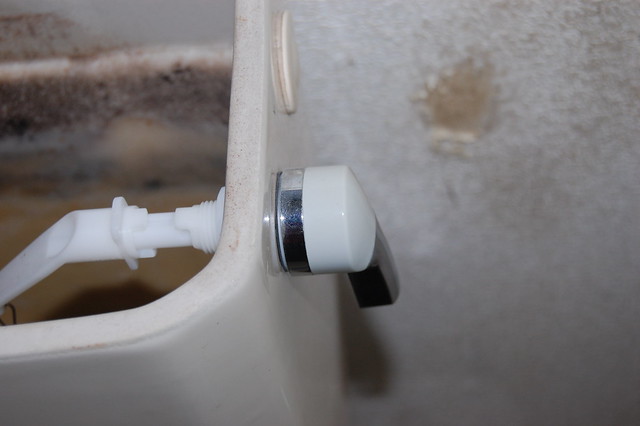
The first thing to do is to turn off the water supply. This toilet has a valve which requires a slot screwdriver to turn it off.
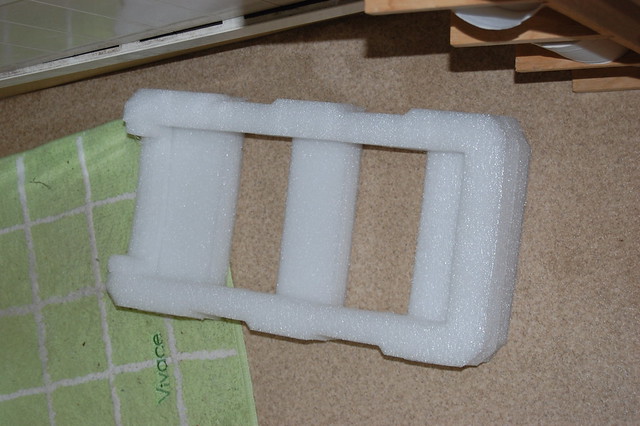
This is packaging from a computer which I saved for putting the tops of the toilet tanks onto.
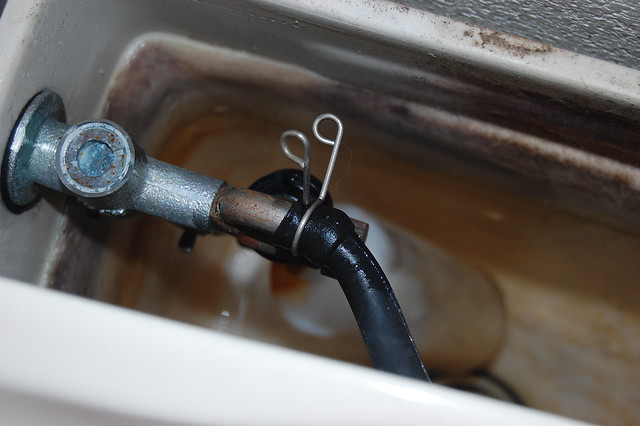
The top is attached with a rubber hose with a clip on it. To detach the top, just lift it up, then squeeze the two parts of the clip together and pull the rubber hose off the metal connector.
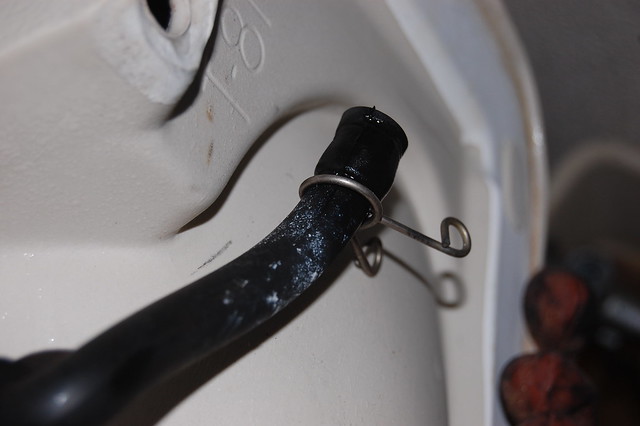
This shows the detached top of the toilet from underneath.
I put it onto the packing material. This saves the underside parts of the tank top from being crushed against the floor, and it also saves it from rolling over and bending the topmost pipe, or otherwise getting damaged or causing damage. It's fairly heavy.
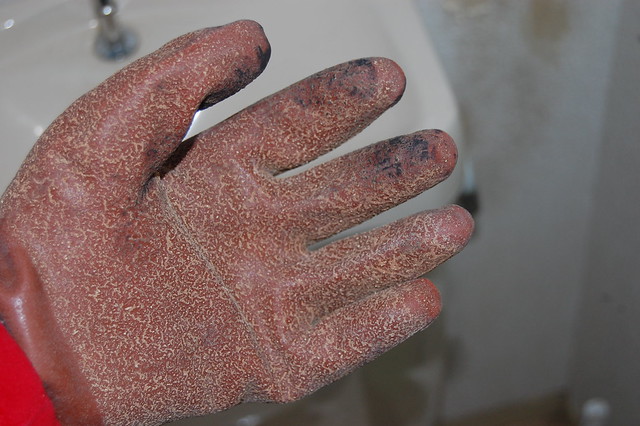
The old rubber makes some kind of black dirt which is very hard to wash off, so it's best to use rubber gloves, and also be careful you don't get the black water onto clothing or wallpaper.
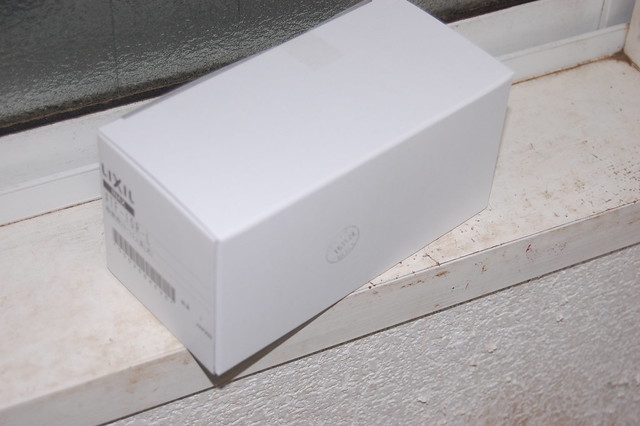
This is the new rubber valve. It didn't come in the nice colourful package which is in home centres, but in a plain box. I bought three of these from haikanbuhin.com via Amazon.co.jp. It cost 378 yen for each valve plus 540 yen for post for all three. One is for a spare.
Here is the inside of the box:
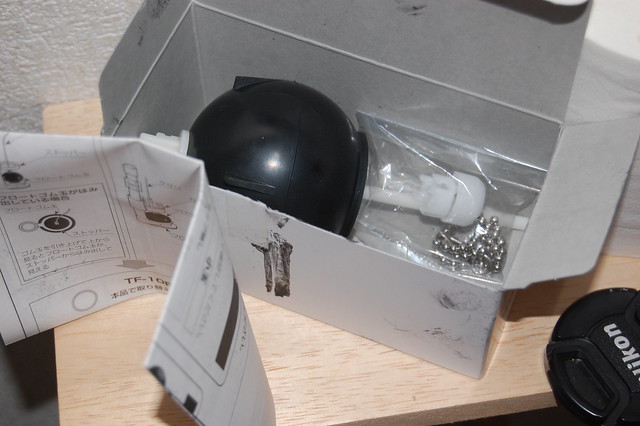
For this model of toilet, it's necessary to snap these parts on to the valve. It seems very securely made, because there is not just one clip but two.
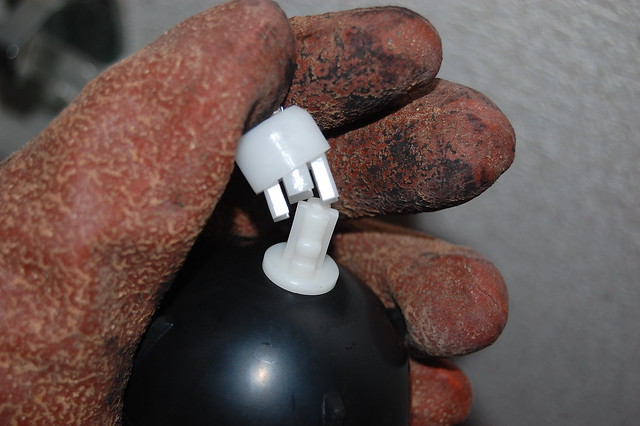
Inserting the new valve requires a small amount of force to bend the central plastic bar so that it goes into the hole in the bottom. This is how the instructions say to do it. I forgot to take a photo of the toilet without the valve.
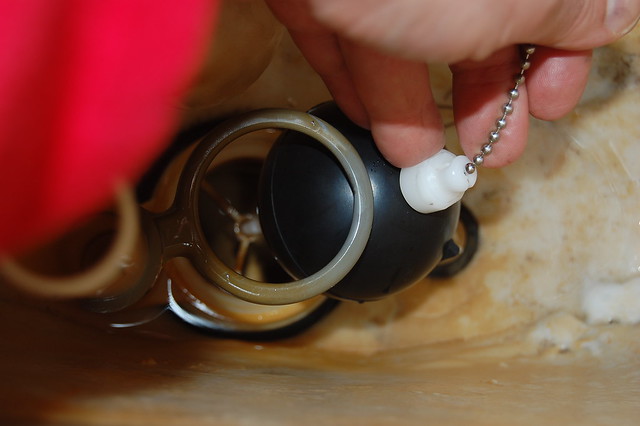
Next the ball needs to be connected to the lever. This is an aftermarket lever I bought when the previous lever broke.
This picture shows the chain fitted on to the lever.
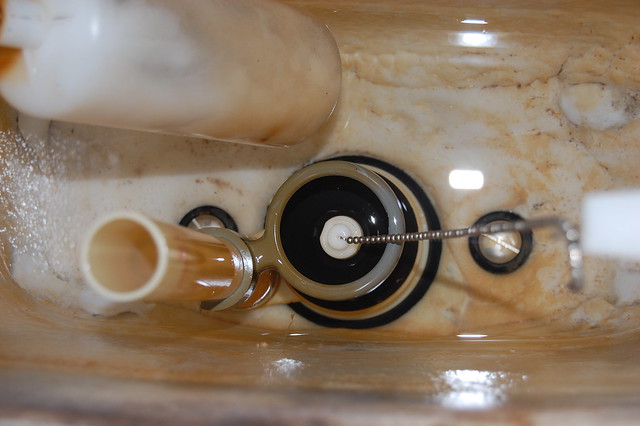
The instructions say to make the chain somewhat loose (about three links of play) so here I adjusted it from the "out of the box" state to be a little loose.

Next I put the top back on the toilet. The tricky part is getting the clip back on in the right place with one hand while holding the tank top with the other hand.
Next the instructions say to flush it three times.

The gloves here are a brand-new pair, which shows how dirty they get from just touching the ball. If you do get any of the black stuff on your hands, it won't come off with soap and water. I recommend the following product, "洗いま専科 ハンドクリーナー 手洗い洗剤" which removes it fairly easily.
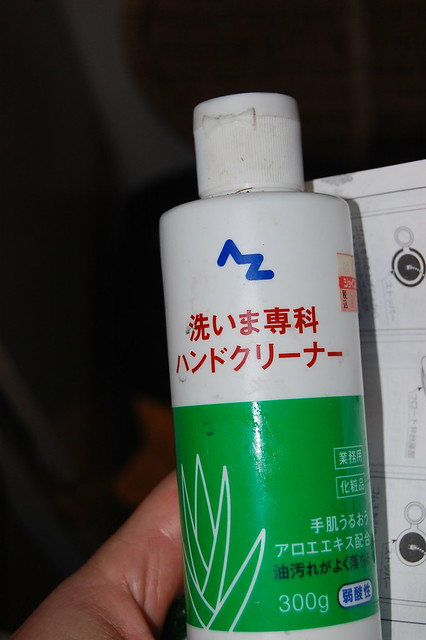
This stuff is also good for getting oil like bicycle chain dirt off one's hands.
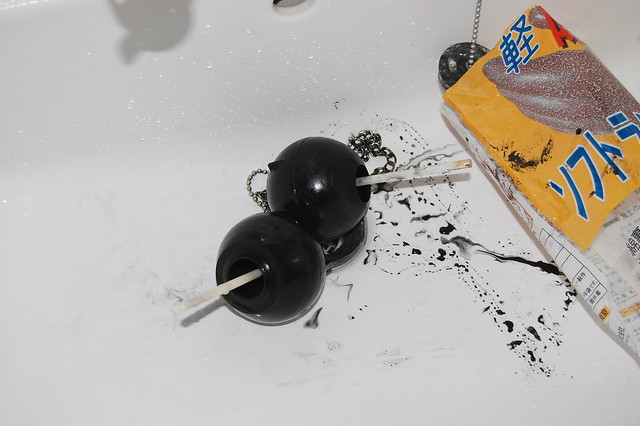
Here is a photo of the two old balls which I replaced:
The toilets are now OK, and I repaired both of the leaks in less time than it took to write this web page.